Saleculator POS system built on Linux is very stable and is not prone to crashes. Saleculator devices run exactly as fast as it did when first installed, even after several years. Because unlike Windows, which is designed for Personal Computing(PC), the uptime and stability of Linux is very high and therefore very much recommended for business use. Saleculator device built on Linux use OS kernel with minimum softwares required, providing a faster boot when starting up the system.
This article will guide you on how to build a Saleculator POS system.
Warning: Writing Saleculator image will erase all data on the system disk.
System Requirements #
You can use any POS system, PC or Laptop with Intel or AMD processor to build Saleculator POS system.
- POS System with Intel or AMD CPU, 1GB or above memory, 32GB or above storage
- A flash drive with 16GB or above storage
- A PC or Laptop with Windows or Linux to prepare flash drive
Software Requirements #
- Saleculator image
Click the below link to download the Saleculator image on to your computer
https://www.saleculator.com/download/TCR-32GB-2019-1.zip - CloneZilla
Click the below link to download CloneZilla ISO on to your computer. Choose the right CloneZilla architecture suitable for your hardware.
https://clonezilla.org/downloads/download.php?branch=stable - Tuxboot
Click the below link to download Tuxboot.
https://tuxboot.org/download/
Procedure #
- Write Clonezilla ISO image to flash drive
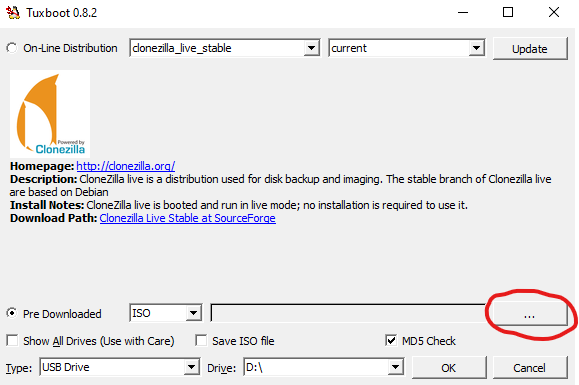
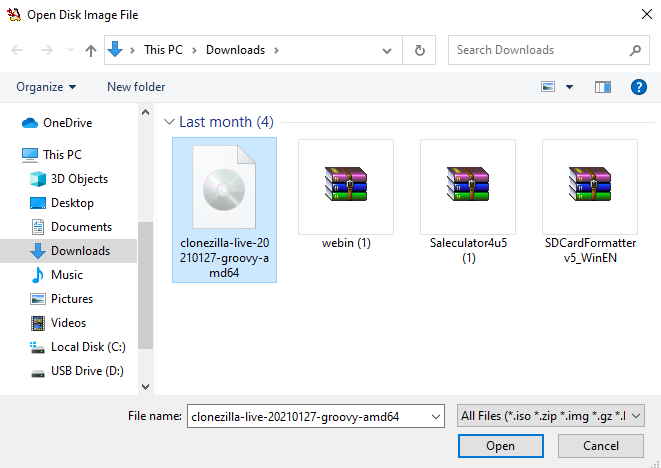
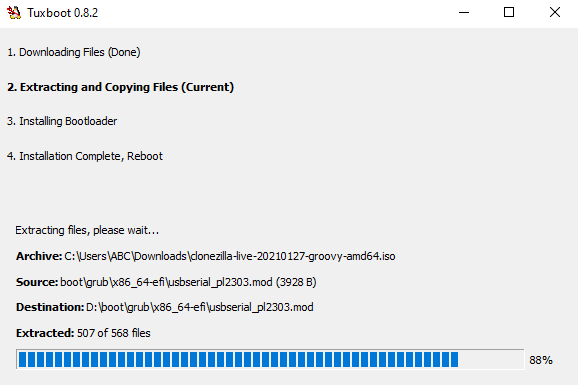
Connect a USB drive and using Tuxboot, write Clonezilla iso image to the USB drive.
Double click Clonezill application:

2. Unzip Saleculator Image
Unzip the downloaded Saleculator image, and copy the folder to the flash drive.
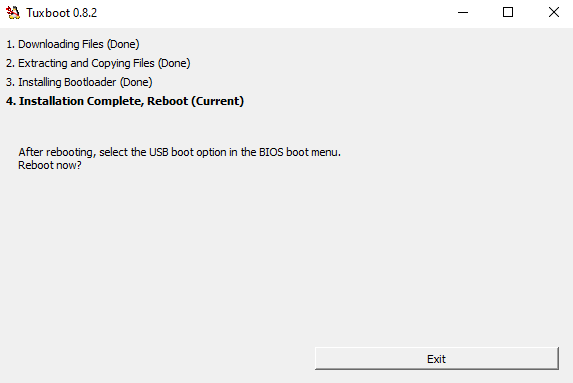
3. Boot from the flash drive
Connect the flash drive to POS System and boot from it.
To access the Boot Menu press one of several keyboard keys when the system is starting up. Common keys for accessing the Boot Menu are F2, F10 or F12, depending on the manufacturer of the system or motherboard.

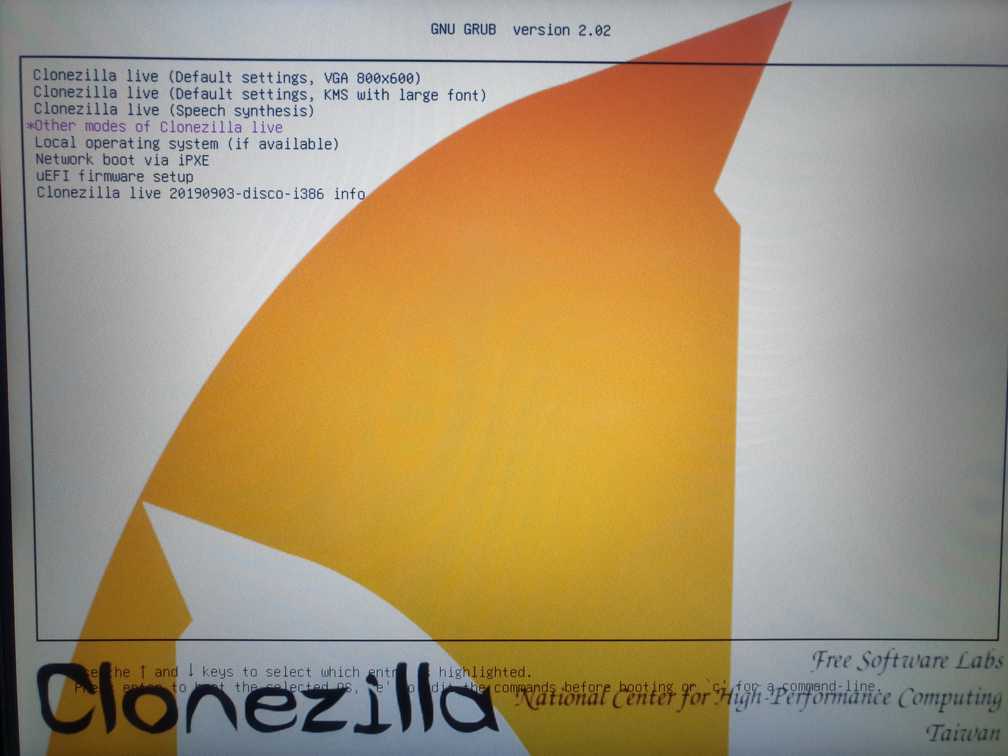
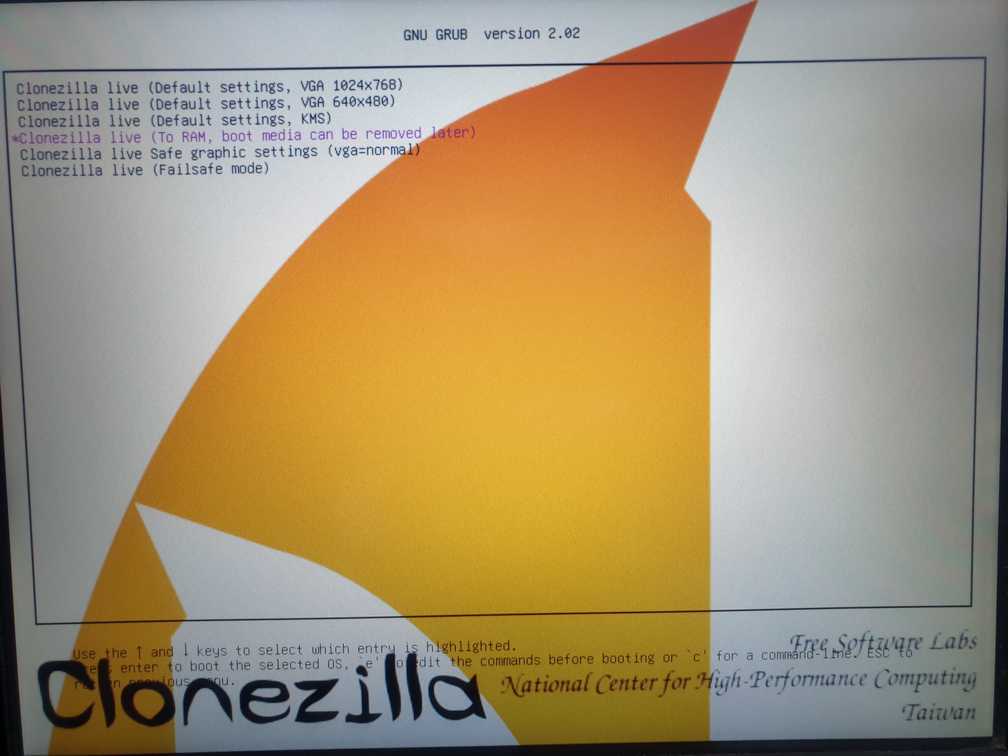
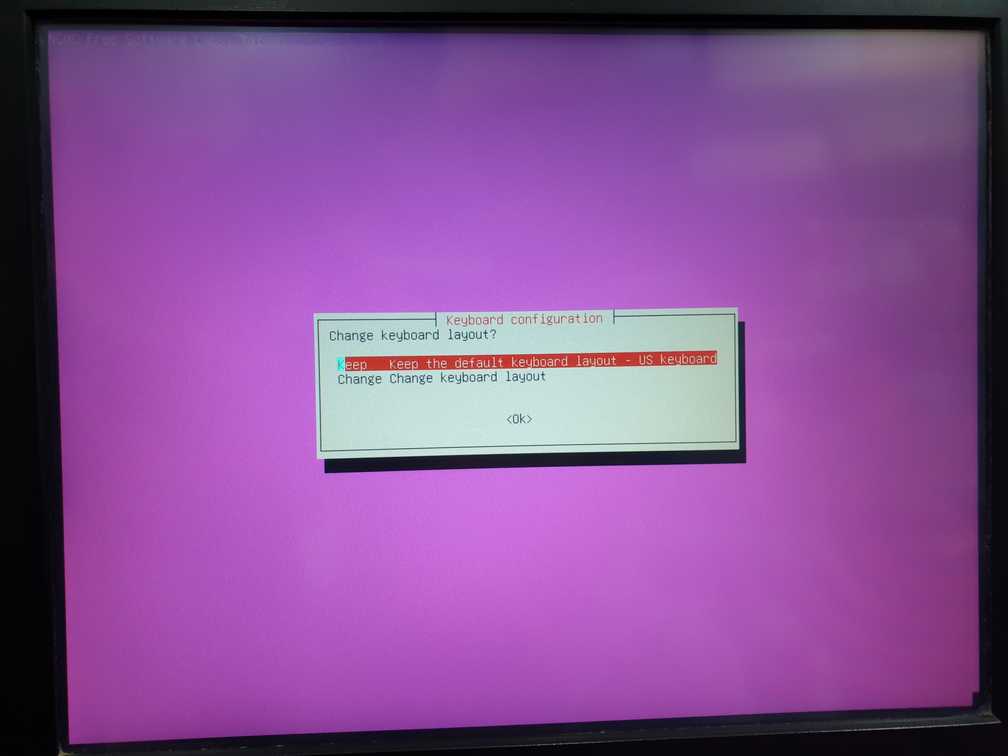
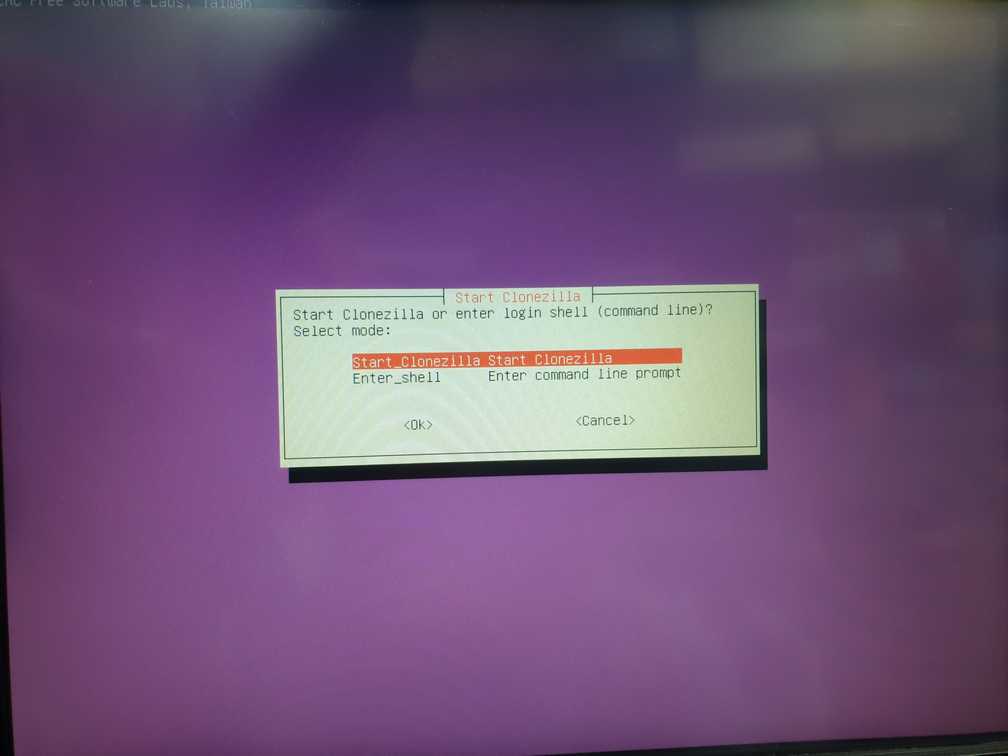
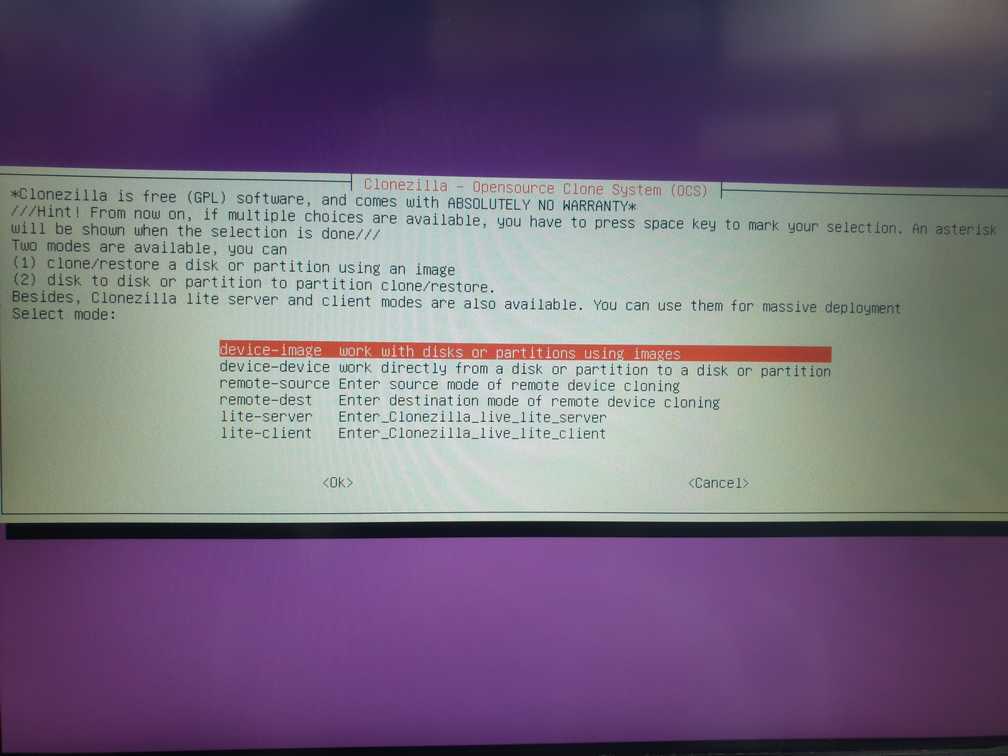
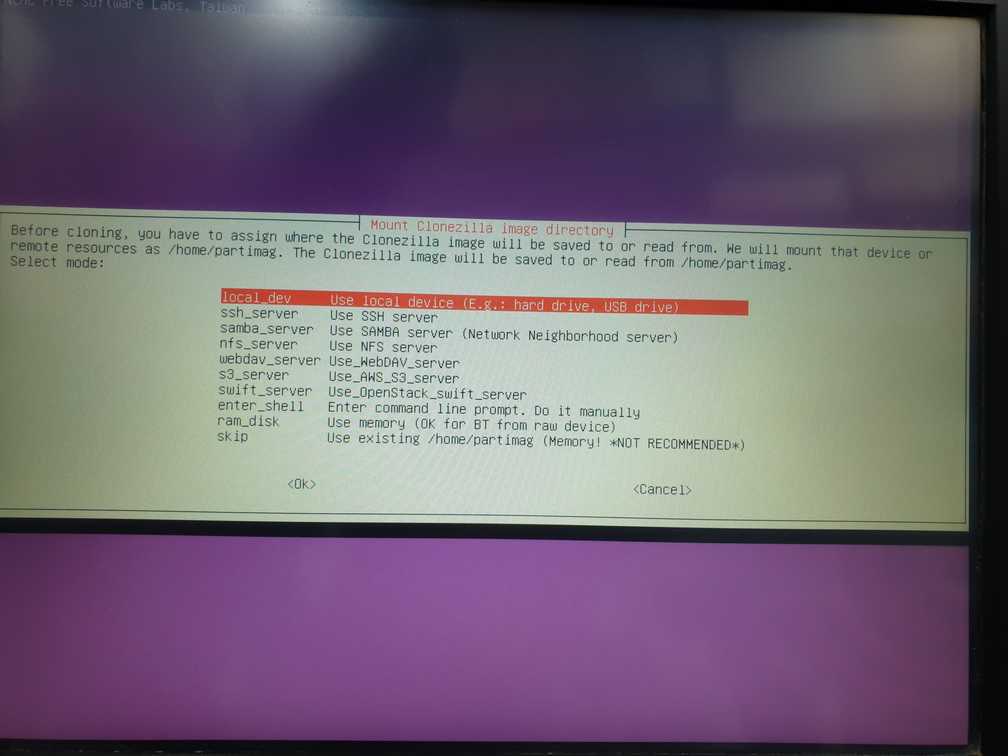
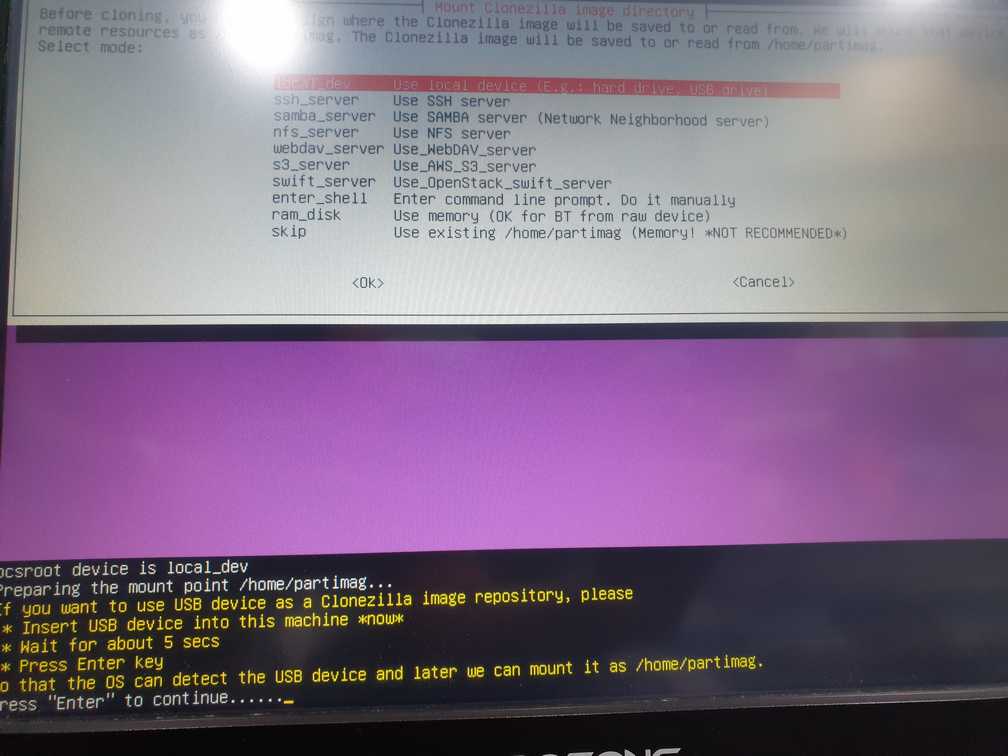
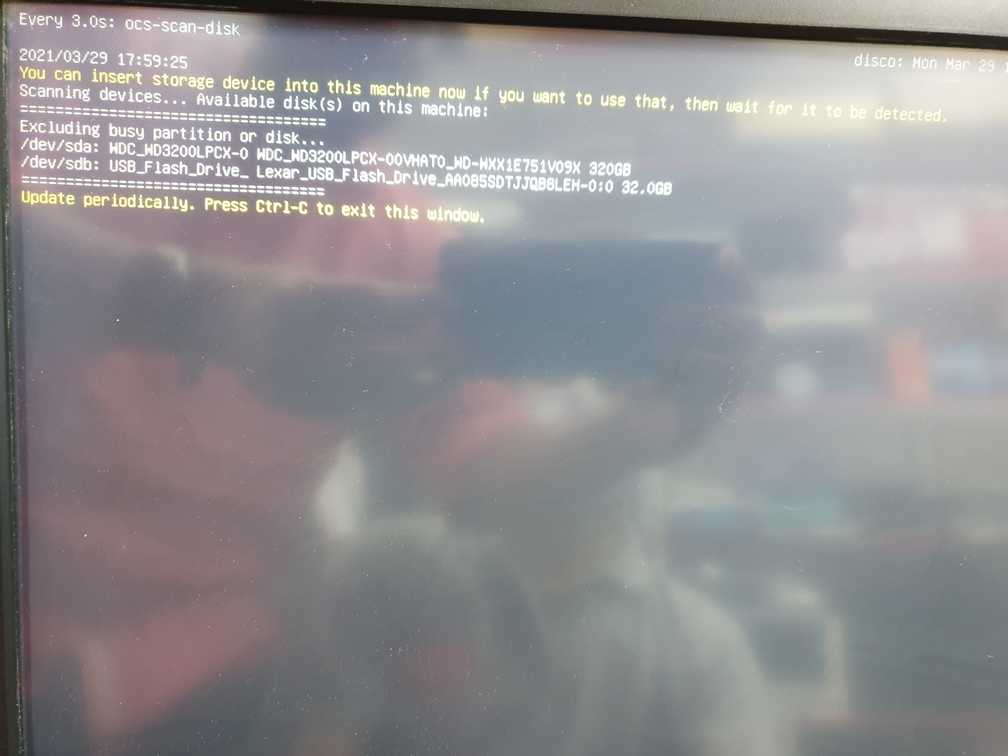
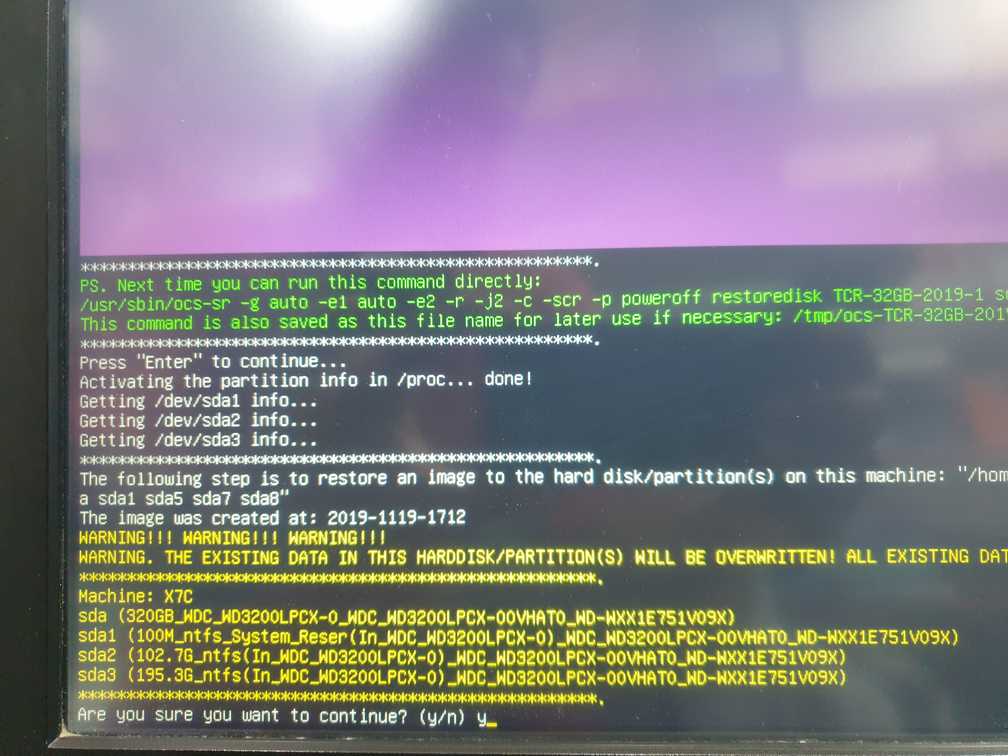
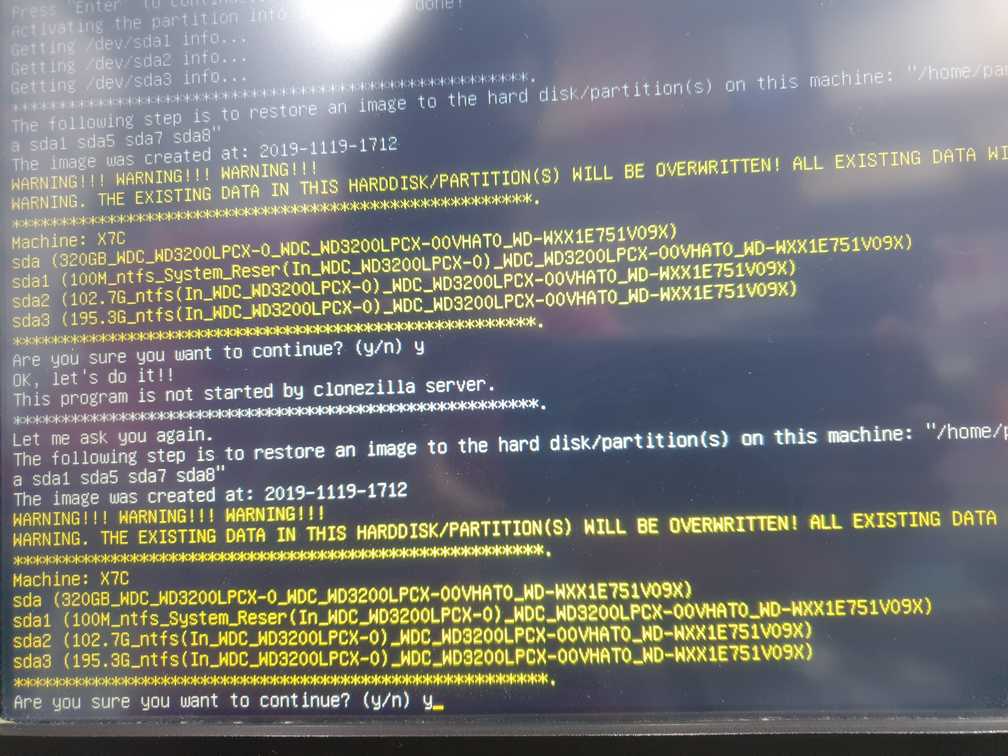
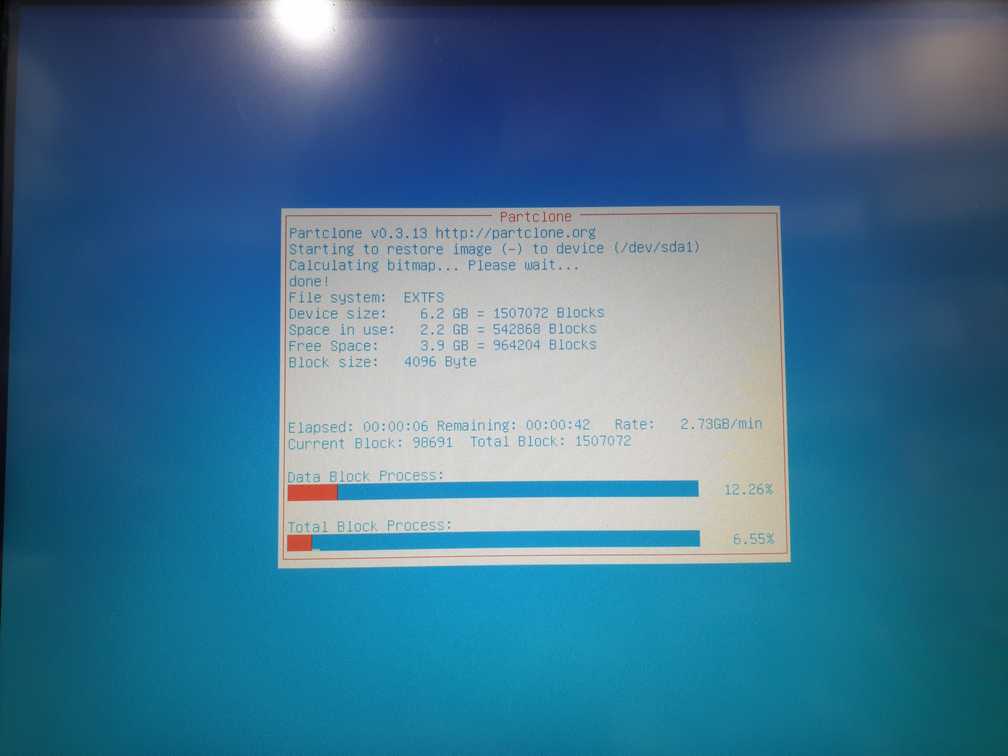
7. Installation
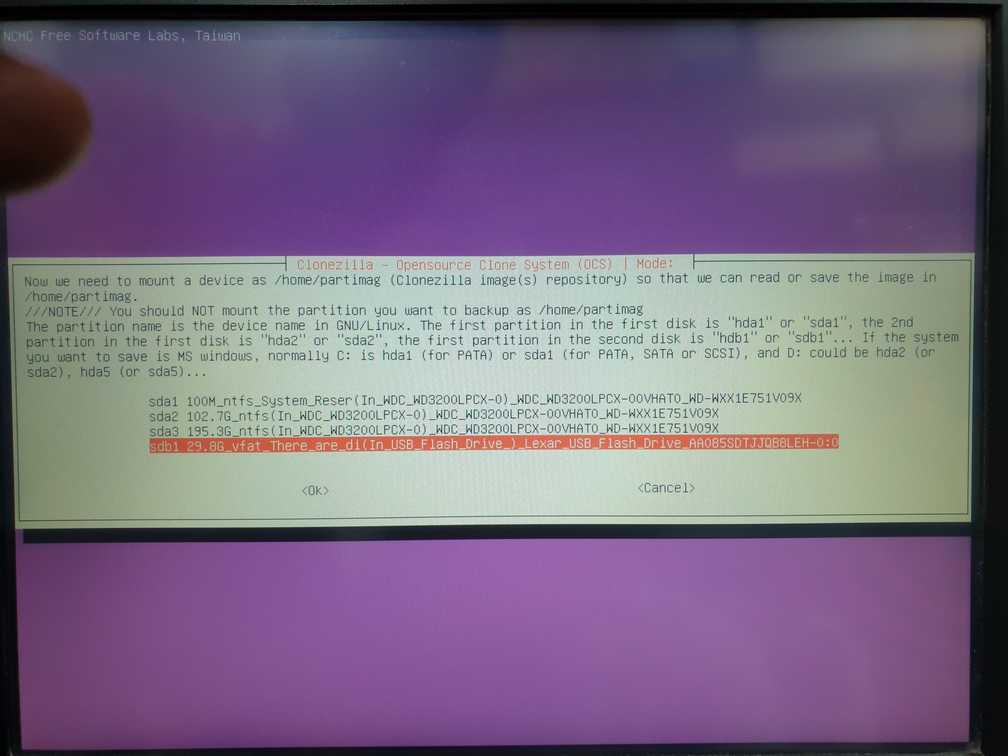
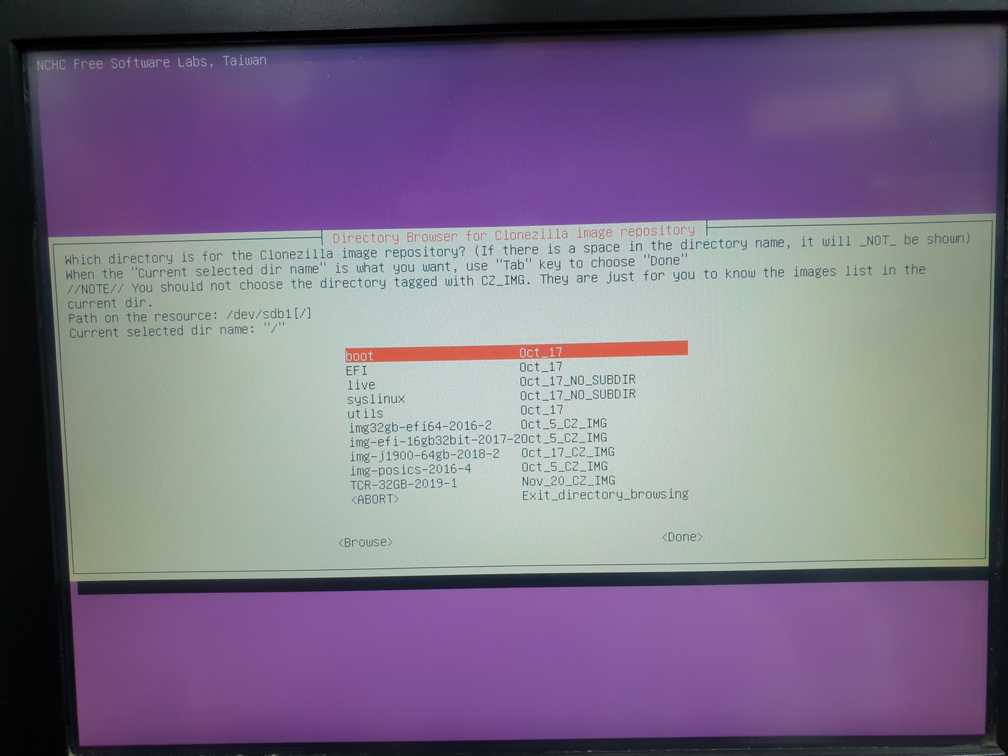
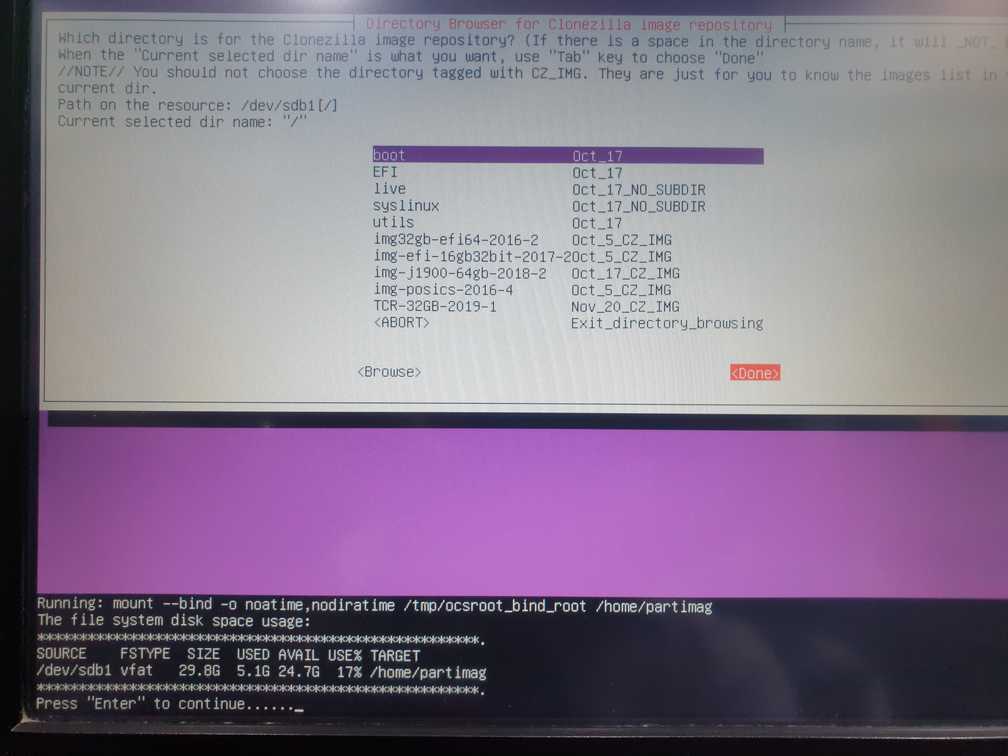
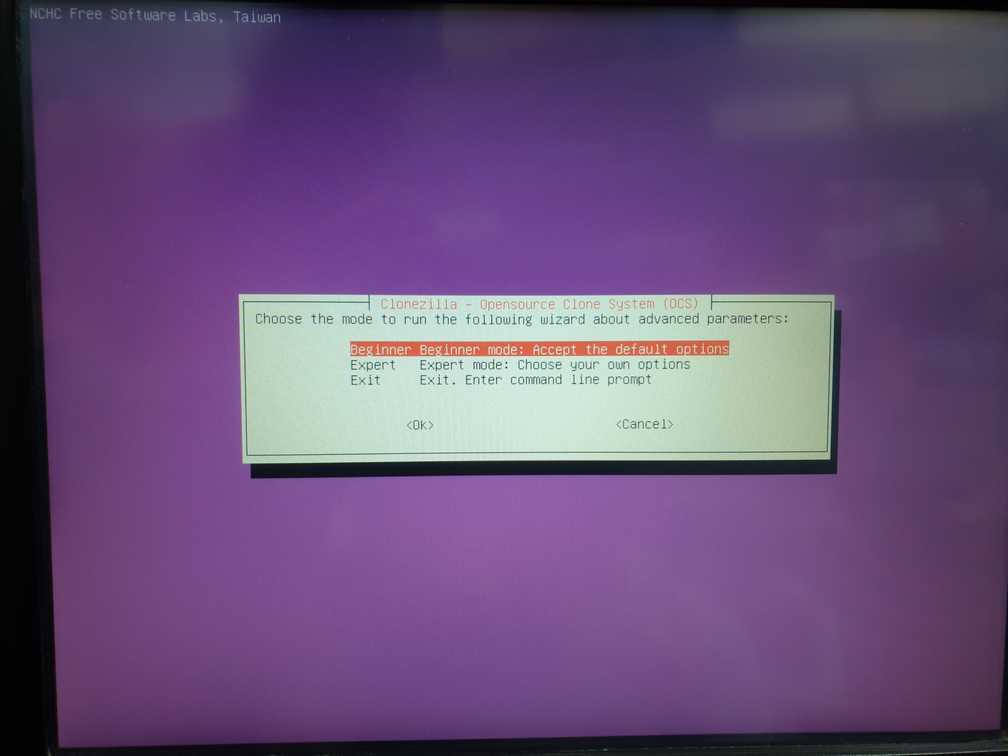
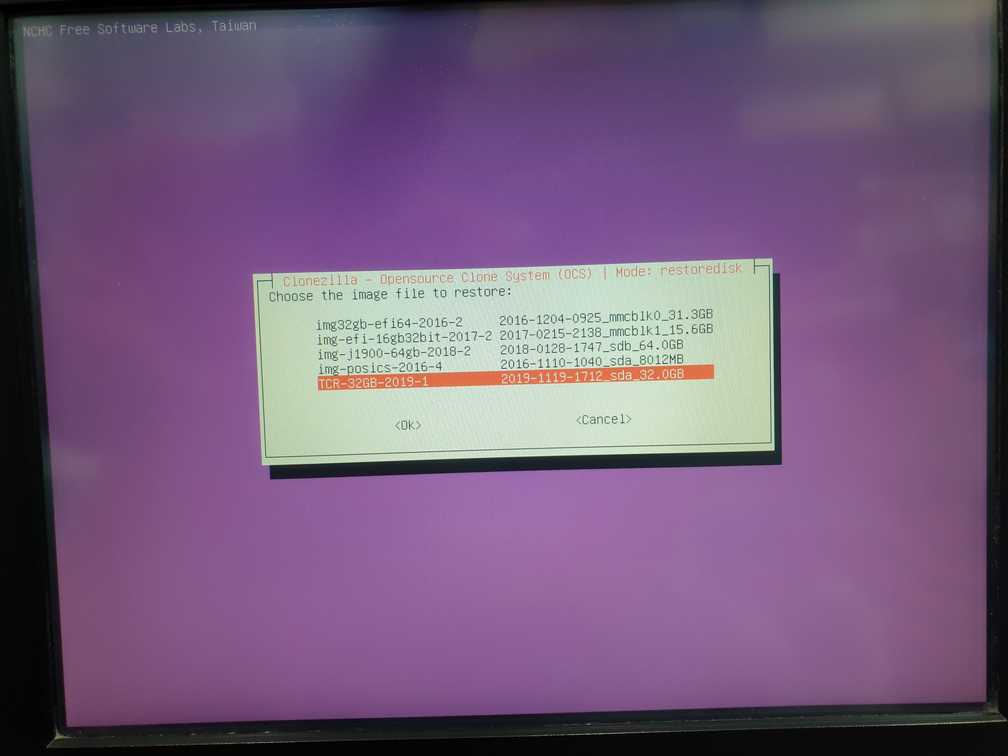
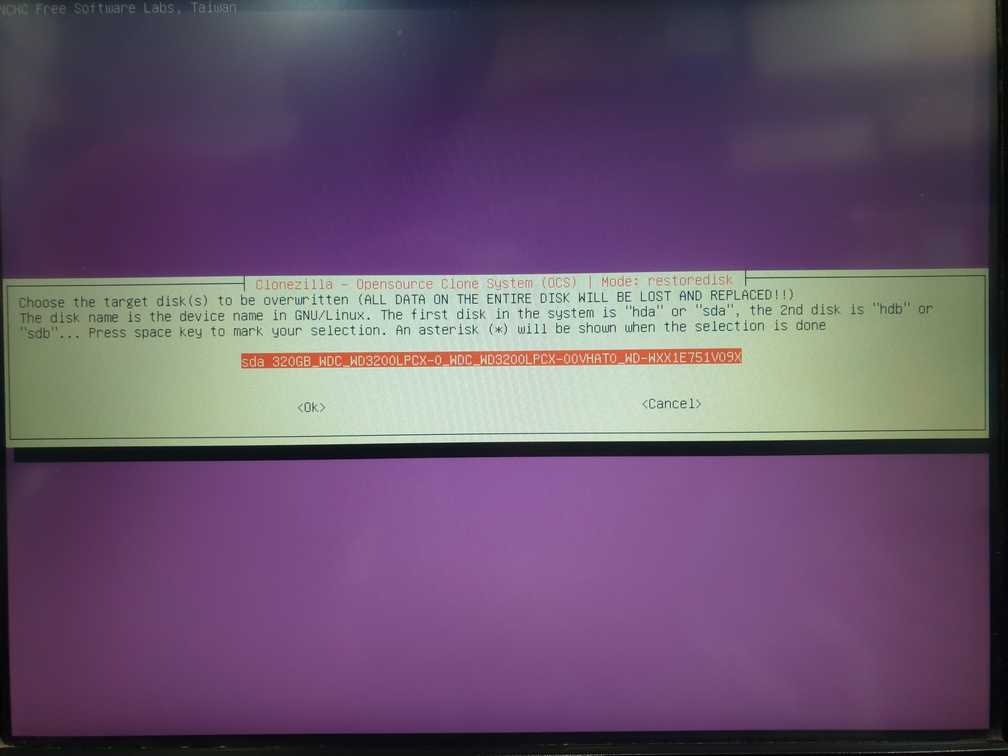
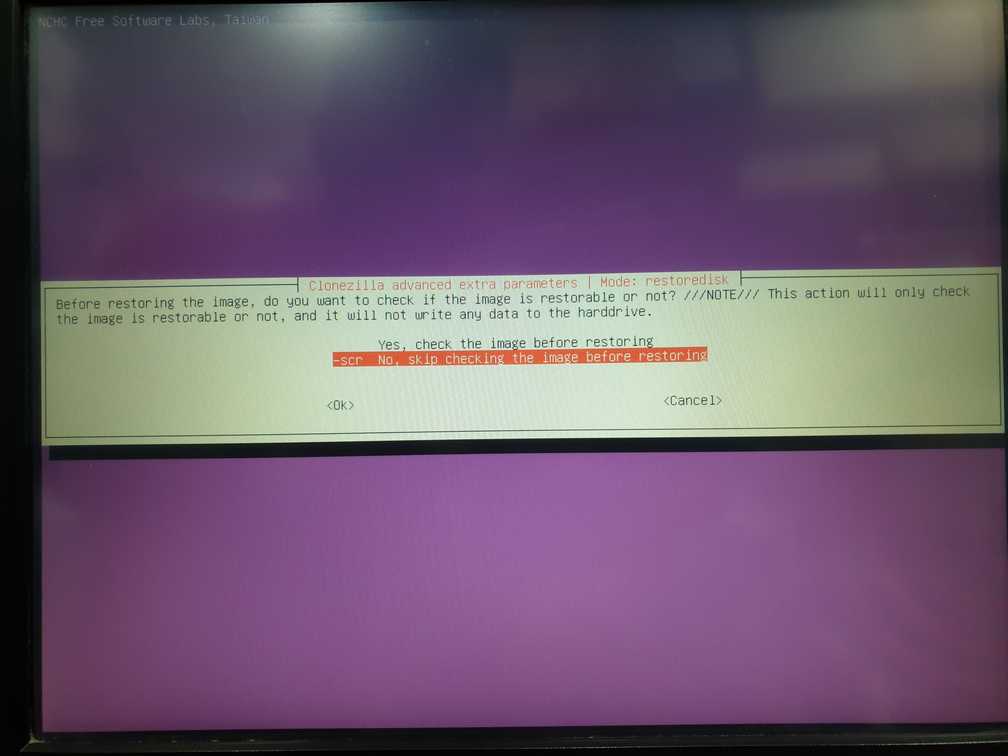
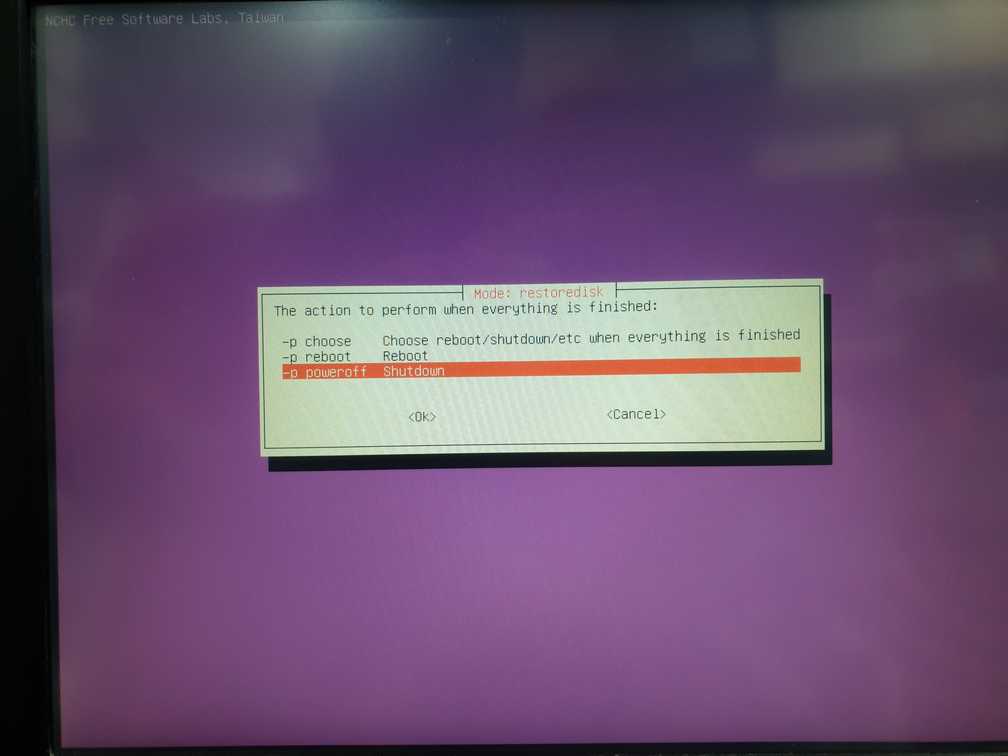
Follow the on-screen instructions like below to complete the installation.


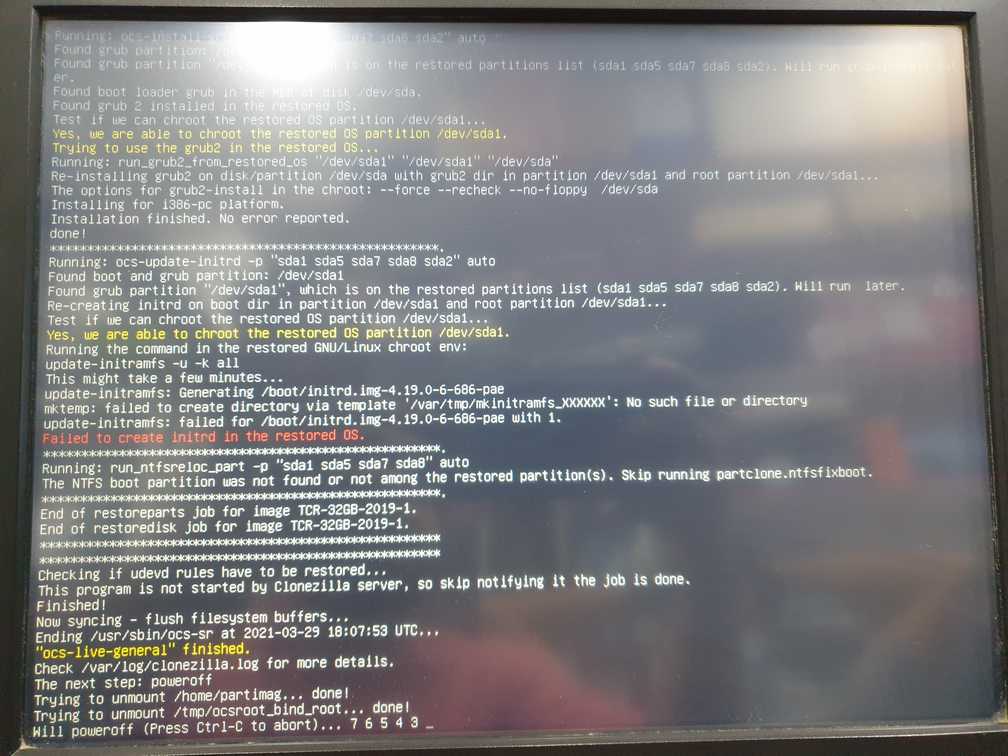
8. Turn On the system
Remove flash drive from the system and turn the power on.

Leave a Reply