- Download certificates ssl1 and ssl2
- Moving ssl files to the raspberry opt folder using WinSCP application
- Import the certificates ssl1 and ssl2 from "opt" folder via the root shell
- Import the certificates ssl1 and ssl2 from your flash drive via the root shell (Do this if you are not able to use the WinSCP application or unable to connect Raspberry with your computer!)
Download certificates ssl1 and ssl2 #
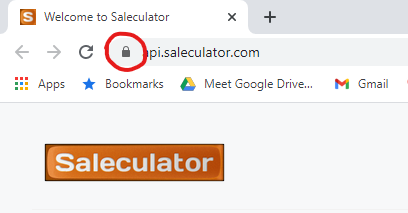
Click https://api.saleculator.com once the website is loaded click on the lock icon as shown below
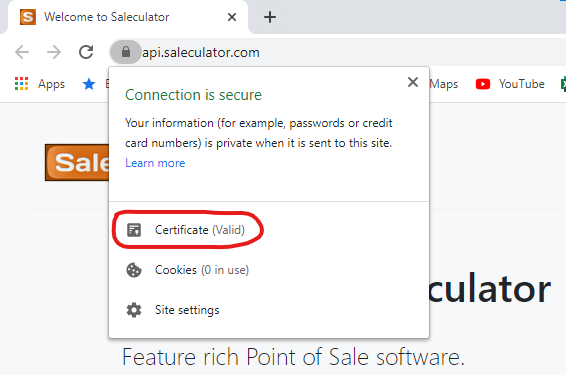
Click on Certificate (Valid) button
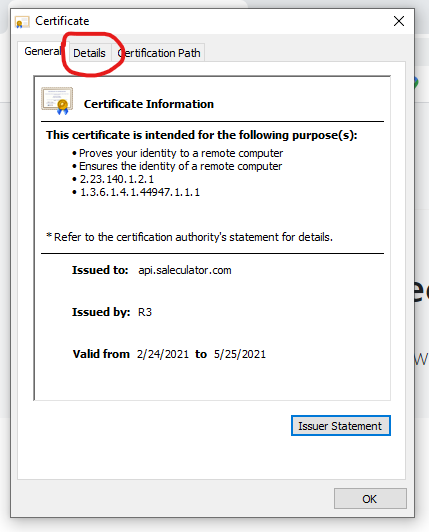
In the pop up window click on “Details” Tab
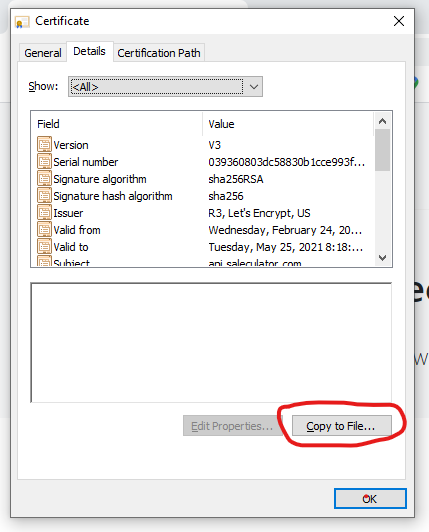
Under “Details” click “Copy to file” button
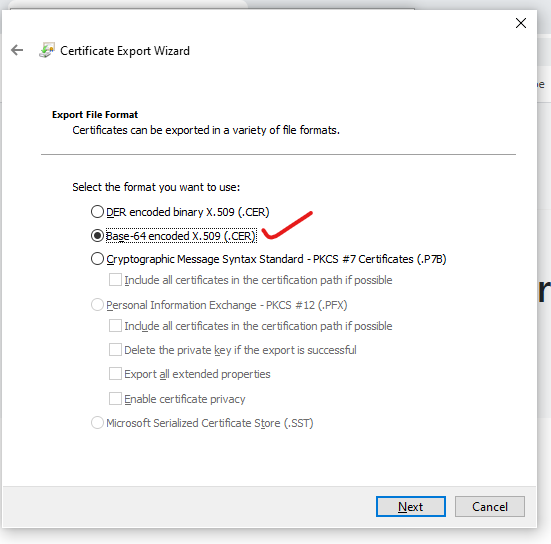
Click “next” in the next screen and choose Base-64 option on the subsequent screen
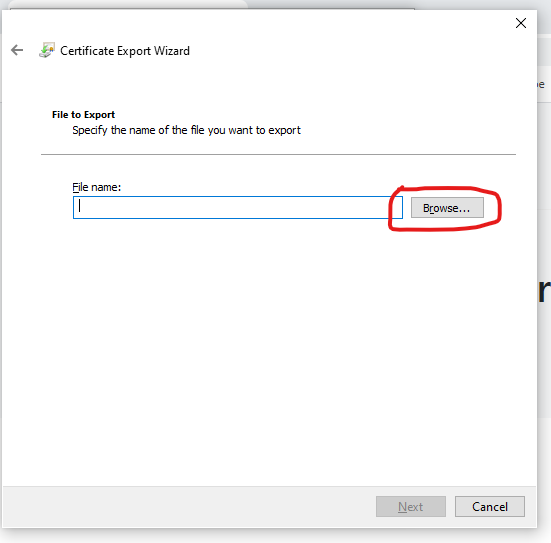
Click Next and choose an appropriate folder to download the certificate by clicking “Browse” button
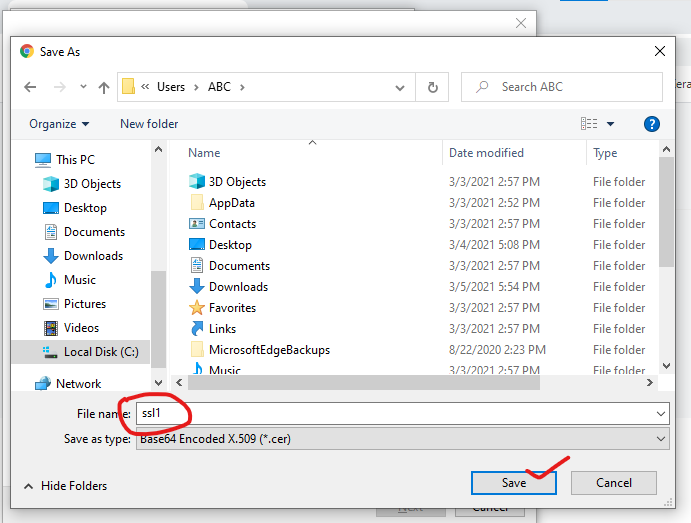
Type the file name as “ssl1” and click “Save” button
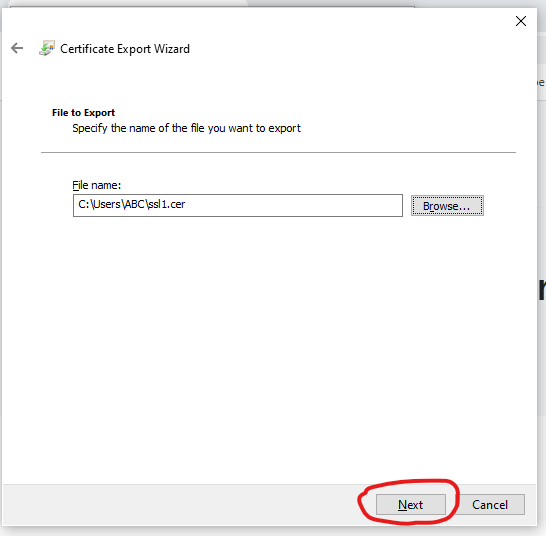
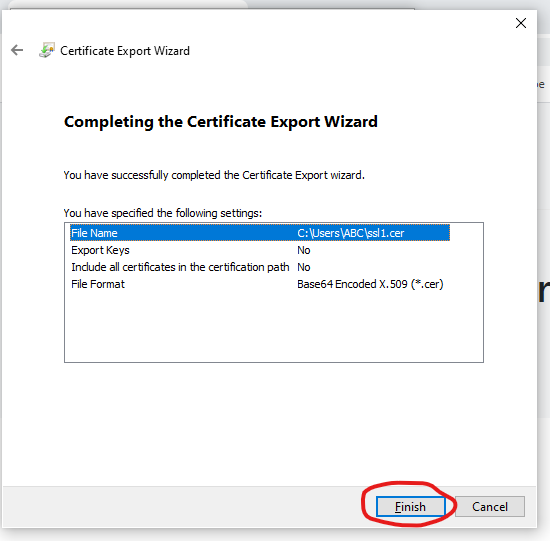
On the subsequent screen click the “Next” button
Click “Finish”
Once the certificate is downloaded successfully you will get a pop-up like the one below
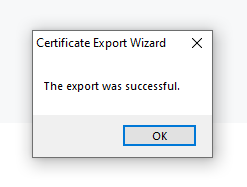
Click OK and we are done with the download of certificate “ssl1”
Repeat the same steps to download and save certificate “ssl2” from https://www.saleculator.com
Moving ssl files to the raspberry opt folder using WinSCP application #
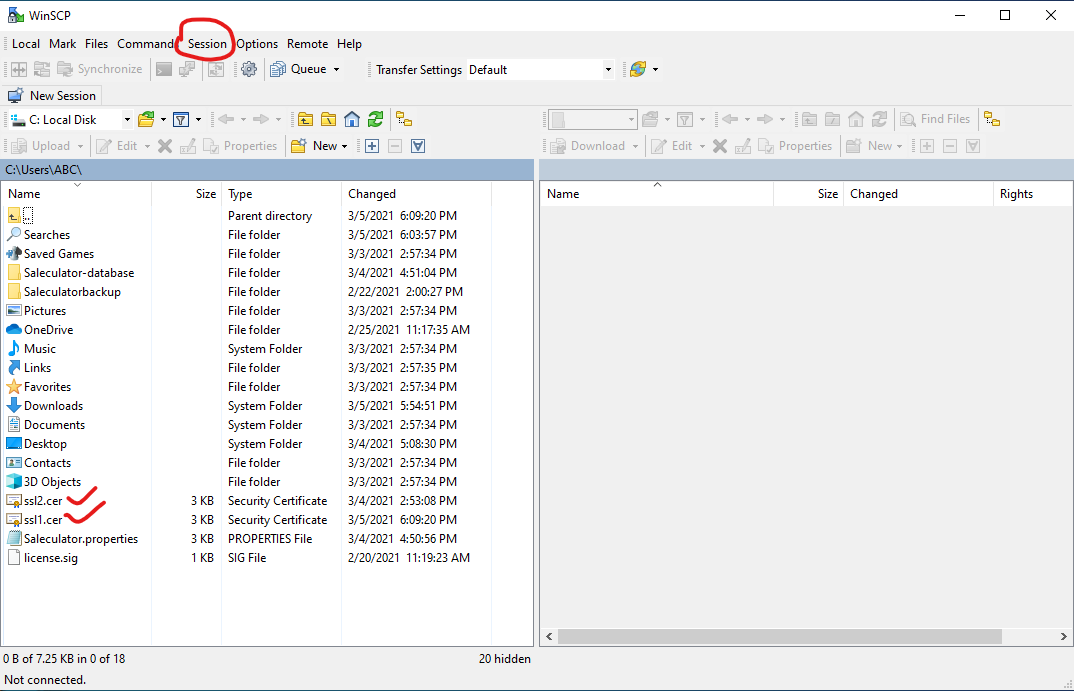
Once you have downloaded both the certificates move them to /opt/ folder using the WinSCP application.
Double click the WinSCP app to get the window shown below and click on the “Session” tab.
Click “New Session” from the drop down
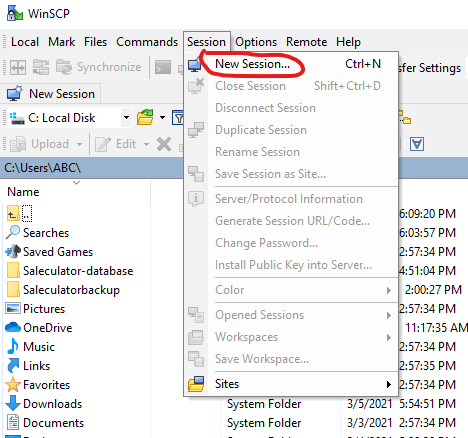
Now it will ask for the Host Name, User Name and Password

Under Host name type the IP address of the Billing Machine/Saleculator M5 device (e.g. 192.168.1.99)
User Name: root
Password: saleculator
Click “Login” and this will show the /opt/ folder and its files on the right side panel.
Now drag and drop the ssl1 and ssl2 files from the left side panel to the opt folder on the right side panel. Now we have successfully downloaded and moved the certificates to the opt folder of the M5 device.
Import the certificates ssl1 and ssl2 from “opt” folder via the root shell #
Login to the root shell using the Putty app from windows system or by pressing Ctrl+Alt+F1 directly on the keyboard of billing machine.
User name: root
Password: saleculator
Copy paste:
keytool -import -alias ssl1 -keystore /usr/lib/jvm/jdk-8-oracle-arm32-vfp-hflt/jre/lib/security/cacerts -file /opt/ssl1.cer
Hit enter key
Password: changeit
Trust this certificate: yes
Copy paste:
keytool -import -alias ssl2 -keystore /usr/lib/jvm/jdk-8-oracle-arm32-vfp-hflt/jre/lib/security/cacerts -file /opt/ssl2.cer
Hit enter key
Password: changeit
Trust this certificate: yes
Type: reboot and hit enter.
Login to Saleculator using the license key and press the “Reset System” button under “Maintenance”
Import the certificates ssl1 and ssl2 from your flash drive via the root shell (Do this if you are not able to use the WinSCP application or unable to connect Raspberry with your computer!) #
- Copy and paste the ssl1 and ssl2 certificate files to you flash drive (Paste it directly outside, not inside any folders in your flash)
- Now plug the flash to any USB port on the Raspberry pi device and type below command
mount /dev/sda1 /flash (Press Enter Key) - Type ls /flash (Press Enter) to check if the flash is properly mounted and ssl files are visible. Once you see the ssl1 and ssl2 files, proceed with next steps.
- Now copy past the below command and press Enter Key
keytool -import -alias ssl1 -keystore /usr/lib/jvm/jdk-8-oracle-arm32-vfp-hflt/jre/lib/security/cacerts -file /flash/ssl1.cer
Password: changeit
Trust this certificate: yes - Copy-paste below command and press Enter Key
keytool -import -alias ssl2 -keystore /usr/lib/jvm/jdk-8-oracle-arm32-vfp-hflt/jre/lib/security/cacerts -file /flash/ssl2.cer
Password: changeit
Trust this certificate: yes - Type umount /flash (Press Enter)
- Type reboot (Press Enter)
If you want to delete an existing ssl certificate from the keystore, use below command:
keytool -delete -alias ssl1 -keystore /usr/lib/jvm/jdk-8-oracle-arm32-vfp-hflt/jre/lib/security/cacerts -storepass changeit
Leave a Reply